
Shakopee employees have two email accounts. You are responsible for tracking and responding to email from both accounts. The easiest way to do this is setting up Gmail in the Outlook application on your MacBook and Outlook to manage both email accounts.
All employees should create a professional email signature. This lets the recipient of the message identify who you are including your job position and where you work. This is especially important when communicating with parents. If you have not created a signature in Outlook yet, find the directions here.
Recommended Setup
1. To add a second email account to Outlook, go to the Outlook menu and select Settings.

2. In Settings, you should already be in the Accounts section.

3. Under your mail account, click Add Account.

4. A box will popup where you type in your Gmail address ending in @shakopeeschools.org. Click Continue.

5. Click Sign in at the next screen.

6. A browser window will open up. Be sure your Gmail account is the address to the left and click Continue.

7. Click Select all to choose all services and click Continue.

8. A pop-up will show up asking to open Microsoft Outlook, click Open Microsoft Outlook.

9. The next window asks if you want to choose a profile to better organize your email. You can click Skip for now.
Your Gmail address is now syncing with Outlook.

10. Be sure to select a signature for your account.

If you have not created a signature in Outlook yet, find the directions here.
6. Now that you have access to both your K12 and Shakopee Schools email accounts in Outlook, you can select how to view your mail. You can view just one account at a time or view all email at the same time. Just select the mailbox you want to view from the menu in the left sidebar.

It may be helpful to rename your accounts to better track what you are viewing. Go to Settings > Accounts, click on what account you want to change, and click on the pencil next to Description

7. Optional: If you would like to access email from your phone or tablet, follow these directions.
DeleteLegacy Setup
The original recommendation for having shakopeeschools.org email show up in the k12.shakopee.mn.us mailbox was to use the forwarding option in gmail.
This is no longer recommended! If you ever had it set up that way (or still do) here's how to check and how to remove that option.
1. Go to the Gmail app.
2. Click the gear icon to view settings.
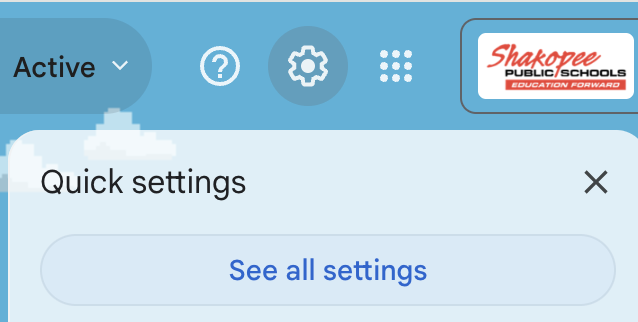
3. Select the option to See All Settings.
4. Look for the Forwarding and POP/IMAP tab and click on it.
5. The first option, Forwarding, should be set to Disable Forwarding.

6. If you make any changes, scroll down and click the save Changes button.
7. If you did have forwarding set up, refer back to the Recommended Setup options to add the gmail mailbox to your Outlook application.
Delete